

Building an ethical hacking lab: a guide for pentesters
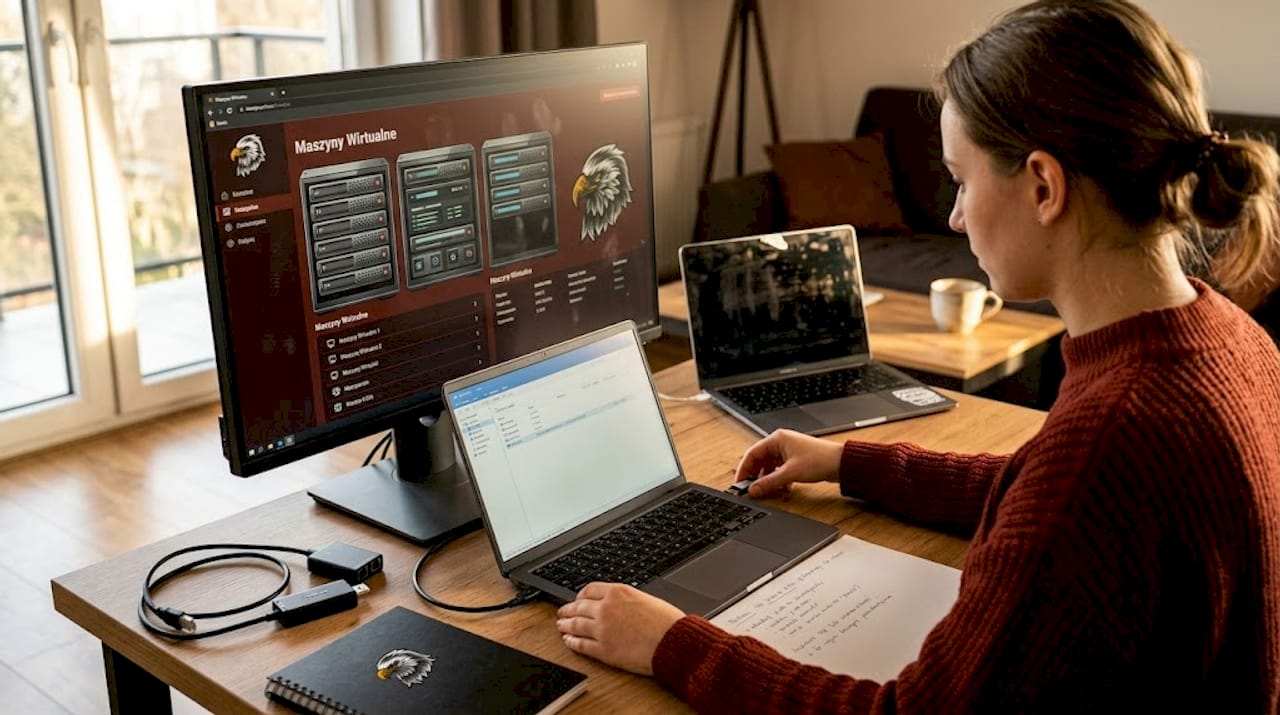
Building an ethical hacking lab is one of those projects where configuration mistakes cost hours of rebuilding the environment, and poor network isolation can end in a real security incident. IT specialists and pentesters know that an effective lab is not about the number of installed tools, but about precise hardware selection, proper network segmentation and repeatable management procedures. This guide walks through every stage: from hardware requirements, through virtual machine (VM) configuration, to automation and environment verification.
Table of contents
-
Understanding hardware and software requirements when building an ethical hacking lab
-
Building and configuring virtual machines: from attacker to target
-
Verifying and maintaining the effectiveness of an ethical hacking lab
-
Practical perspective: what separates an effective lab from beginner traps
-
Hardware and tools for a professional ethical hacking lab in the Sapsan store
Key takeaways
| Point | Details |
|---|---|
| Minimum hardware requirements | For a functional lab you need at least a quad-core CPU, 16 GB RAM and an SSD; 32 GB RAM is the standard for comfortable work. |
| Network isolation | Host-Only networking provides security by isolating vulnerable machines from the internet and home network. |
| Scaling and tools | Start with Kali Linux and a few vulnerable machines, expand the lab gradually as needed. |
| Deployment automation | Use Git and Ansible to quickly restore and replicate environment configurations. |
| Hybrid model | Combining physical hardware with virtualization increases realism and practical debugging skills. |
Understanding hardware and software requirements when building an ethical hacking lab
Every security learning lab starts with a hardware decision. A host that is too weak becomes a bottleneck already at three concurrent VMs. One that is too powerful without the right virtualization software is wasted potential.
The minimum configuration is a quad-core CPU with 16 GB RAM and an SSD. Recommended parameters for smooth work with several virtual machines simultaneously are 32 GB RAM and a 500 GB SSD. For advanced analyses, especially GPU password cracking (hashcat, John the Ripper), consider 64 GB RAM and a high-performance card with plenty of VRAM - RTX 4070 Ti / 4080 or a Radeon equivalent.
Hardware configuration comparison
| Tier | RAM | CPU | Disk | GPU |
|---|---|---|---|---|
| Basic | 16 GB | Quad-core with VT-x/AMD-V | 256 GB SSD | Integrated |
| Intermediate | 32 GB | 8-core | 500 GB NVMe SSD | Optional |
| Advanced (GPU cracking) | >=64 GB DDR5 | 16+ core | 1 TB+ NVMe | RTX 4080 or higher |
The choice of hypervisor (the software that manages virtual machines) is equally important:
-
VirtualBox: free, good for beginners, limited performance with many VMs
-
VMware Workstation Pro: paid, high performance, stable for production environments
-
Proxmox VE: open source, scales from 2-3 VMs to clusters, no licensing costs, preferred in advanced labs (documentation)
In the context of expanding the lab environment, plan VT-x or AMD-V support in BIOS settings from the start. Without this option hardware virtualization is disabled, which translates into a significant drop in VM performance.
Pro tip: Before buying hardware, check support for nested virtualization if you plan to run VMs inside VMs. Not every CPU and hypervisor supports this feature without additional configuration.
RAM is the most critical resource in a lab. Each Kali Linux VM needs a minimum of 2 GB, Metasploitable runs on 1 GB, but Windows Server as a test target requires at least 4 GB. With five machines running at once you quickly exceed 16 GB for the VMs alone, not counting the host system.
Building and configuring virtual machines: from attacker to target
With hardware and software ready, we focus on the detailed creation and configuration of virtual machines. This is the stage that determines the functionality of the entire lab.
The recommended starter setup is Kali Linux with 4 GB RAM as the offensive machine, plus 2-3 vulnerable machines such as Metasploitable 2, running in a Host-Only network for full isolation. It is worth following recognized ethical hacking methodologies that indicate the order of actions during tests - for example PTES (Penetration Testing Execution Standard) or OWASP Testing Guide.
Steps for configuring the VM environment
-
Download the Kali Linux ISO from the project website. Verify the SHA256 checksum before installation.
-
Create a new VM in the hypervisor: minimum 4 GB RAM, 2 vCPU, 50 GB disk, Host-Only network type.
-
Install Kali Linux. Installation takes 30-60 minutes, and the first exploits are within reach within an hour of launch. Full procedure in the official Kali Linux documentation.
-
Update packages:
sudo apt update && sudo apt full-upgrade -y. Kali updates the tool base several times a month. -
Download the Metasploitable 2 image from the official SourceForge repository. This is a vulnerable Linux system built specifically for pentesting practice.
-
Configure OWASP Juice Shop as a Docker container or a dedicated VM for testing web applications. Juice Shop is a deliberately broken application with hundreds of vulnerabilities.
-
Set Host-Only networking on all machines. Assign static IP addresses, e.g. 192.168.56.0/24.
-
Snapshot every VM after the baseline configuration. A snapshot is a restore point you return to after each test session.
Pro tip: Do not delete snapshots after testing. Keep at least two: a clean baseline state and a state after installing additional tools. Restoring a snapshot takes seconds, reinstallation takes hours.
Vulnerable machines are not only Metasploitable. For more advanced exercises consider adding DVWA (Damn Vulnerable Web Application), VulnHub machines with specific CVE entries (Common Vulnerabilities and Exposures - the registry of publicly known security flaws), and Windows with patches intentionally disabled for testing system-level exploits. For enterprise scenarios - GOAD (Game of Active Directory), a ready-made AD lab with vulnerabilities.
Networks and segmentation in an ethical hacking lab
After preparing machines and software, network configuration is the stage most often underestimated by people starting an ethical hacker setup. Wrong segmentation can leak test traffic outside the lab.
The basic virtual network modes in a lab context:
-
Host-Only: VMs communicate only with the host and with each other. No internet access. Required for vulnerable machines.
-
NAT (Network Address Translation): the VM has internet access through the host. Useful for the attacker machine, dangerous for vulnerable systems.
-
Bridged: the VM acts as a full-fledged member of the home network. Do not use for vulnerable machines.
-
Internal Network: similar to Host-Only, but without host communication. Useful for isolated sub-segments.
Segmentation with VM firewalls plus 1-2 physical network devices gives the best effect for learning realistic scenarios. Host-Only protects against leaks, while NAT for vulnerable machines creates real risk of exploiting your home infrastructure.
Comparison of network modes in the lab
| Mode | Internet access | Host communication | Security | Use case |
|---|---|---|---|---|
| Host-Only | No | Yes | High | Vulnerable machines |
| NAT | Yes | Limited | Medium | Kali for updates |
| Bridged | Yes | Yes | Low | Only temporarily |
| Internal | No | No | Highest | Isolated sub-segments |
For more advanced configurations, deploy pfSense or OPNsense as a VM firewall. Both are free solutions that let you create VLANs (Virtual Local Area Network - logical network segments), ACL rules (Access Control List) and monitor traffic between segments. Thanks to this the lab begins to mirror real corporate infrastructure.
A good place to debug topology and practically test physical connections is the Packet Squirrel, which lets you test man-in-the-middle attacks and tunneling at the hardware level.
Pro tip: Deploy pfSense as the central routing point in the lab. Configure rules that block traffic between the vulnerable-machine zone and the NAT network. A single misconfiguration in a VM firewall is easier to locate than an uncontrolled leak through your home network.
Automation and configuration management in the lab
After covering the network infrastructure, time for automation. Without it, every lab reinstall becomes a multi-hour manual process. Specialists who use Infrastructure as Code tools rebuild their environment in minutes.
Key automation components in the lab:
-
Git: version control for VM configuration files, Ansible scripts and firewall rules. Change history lets you identify when the configuration stopped working.
-
Ansible: configuration deployment automation tool. An Ansible playbook can install and configure a complete Kali environment from scratch.
-
Terraform: infrastructure management in the cloud or on-premise environments through code. Useful for hybrid labs.
-
Vagrant: automatic launching and configuration of VMs from a Vagrantfile. Popular in pentest teams.
In practice Git and Ansible cut environment rebuild time from hours to minutes. A test environment destroyed after aggressive exploitation attempts is not a tragedy but a standard procedure - an Ansible playbook brings the whole lab up from zero, Proxmox snapshots give granular control over individual VMs.
Typical problems without automation:
-
Missing VM configuration documentation makes it impossible to reproduce the environment after a failure
-
Manual tool updates cause divergence between machines
-
Each reinstall differs from the previous one, which makes comparing test results harder
-
Lack of version control makes it harder to locate the moment the configuration broke
Solid lab management also requires backup procedures. VM snapshots are not backups. Snapshots should be supplemented with VM exports to external media or the cloud at least once a week.
Pro tip: Create a Git repository with a directory per VM:
configs/kali,configs/metasploitable,configs/pfsense. Commit changes after every configuration session. When something stops working,git diffshows exactly what changed.
Verifying and maintaining the effectiveness of an ethical hacking lab
After building and configuring the lab, verifying operation is the stage most pentesters skip and that prevents problems during real exercises.
Lab operation verification procedure
-
Check connectivity between VMs: from Kali run
pingto the Metasploitable IP. No response indicates a Host-Only network configuration error. -
Verify internet isolation: from a vulnerable machine run
ping 8.8.8.8. A response means a segmentation error - no response should be the expected outcome. -
Test access to Metasploitable: from Kali run
nmap -sV [Metasploitable IP]. The result should show open ports of vulnerable services. -
Run a host performance test: with 3-4 VMs running, check host CPU and RAM usage. Crossing 85% RAM signals upcoming stability problems.
-
Test the snapshot restore procedure: deliberately change a VM configuration, then restore the snapshot. Restore time is a good indicator of hypervisor configuration quality.
Key environment maintenance indicators:
-
Update the Metasploit exploit database:
sudo apt update && sudo apt install --only-upgrade metasploit-frameworkat least once a week (themsfupdatecommand is deprecated in newer Kali versions) -
Update Kali Linux:
sudo apt full-upgradeafter every session or every 2-3 days -
Verify firewall rules after every topology change
-
Monitor hypervisor logs for memory allocation errors
Two elements are critical in practice: enough RAM (at 16 GB the host already swaps with 3-4 VMs running in parallel, which dramatically slows down every analysis) and rigorous network isolation (Host-Only instead of NAT for vulnerable machines eliminates the risk of exploit leakage into the production home network).
Lab security is a separate topic. Vulnerable machines like Metasploitable are deliberately unsafe. Running them outside a Host-Only network exposes the entire home or office network to exploitation. Verify network configuration before every session, especially after hypervisor updates that can reset VM network interface settings.
Good lab testing procedures also include session documentation: which exploits were used, which VMs were active, which changes were made.
Practical perspective: what separates an effective lab from beginner traps
Many pentesters approach lab building like building a library of tools. The more the better. This is a mistake that costs time and attention.
In a typical lab, a significant part of installed tools remains unused without conscious goal planning. Proxmox VE lets you scale infrastructure from 2-3 VMs to full clusters with no licensing costs, but access to the tool itself does not replace competence in using it.
An effective lab is not a collection of VMs. It is an environment built around specific training goals or pentest projects. Before adding another machine, answer this question: which technique is it needed for?
The second mistake is giving up on physical devices in the lab. A purely virtual environment does not teach debugging physical-layer problems. Changing topology on physical hardware takes 10-20 minutes, but builds reflexes no simulator will replace. A managed switch with VLAN support, a physical router or a network card for packet injection is an investment that pays back on the first real engagement.
Lab cost is also a strategy question. Cheap second-hand hardware - for example used Dell PowerEdge servers - often offers 64-128 GB RAM for a fraction of the price of new consumer hardware. Many pentest teams use such machines as the main hypervisor hosts. A one-time expense, but a saving over years of use.
A good lab is also one you can rebuild from code in less than an hour. If reinstallation takes longer, automation is not optional. It is a necessity.
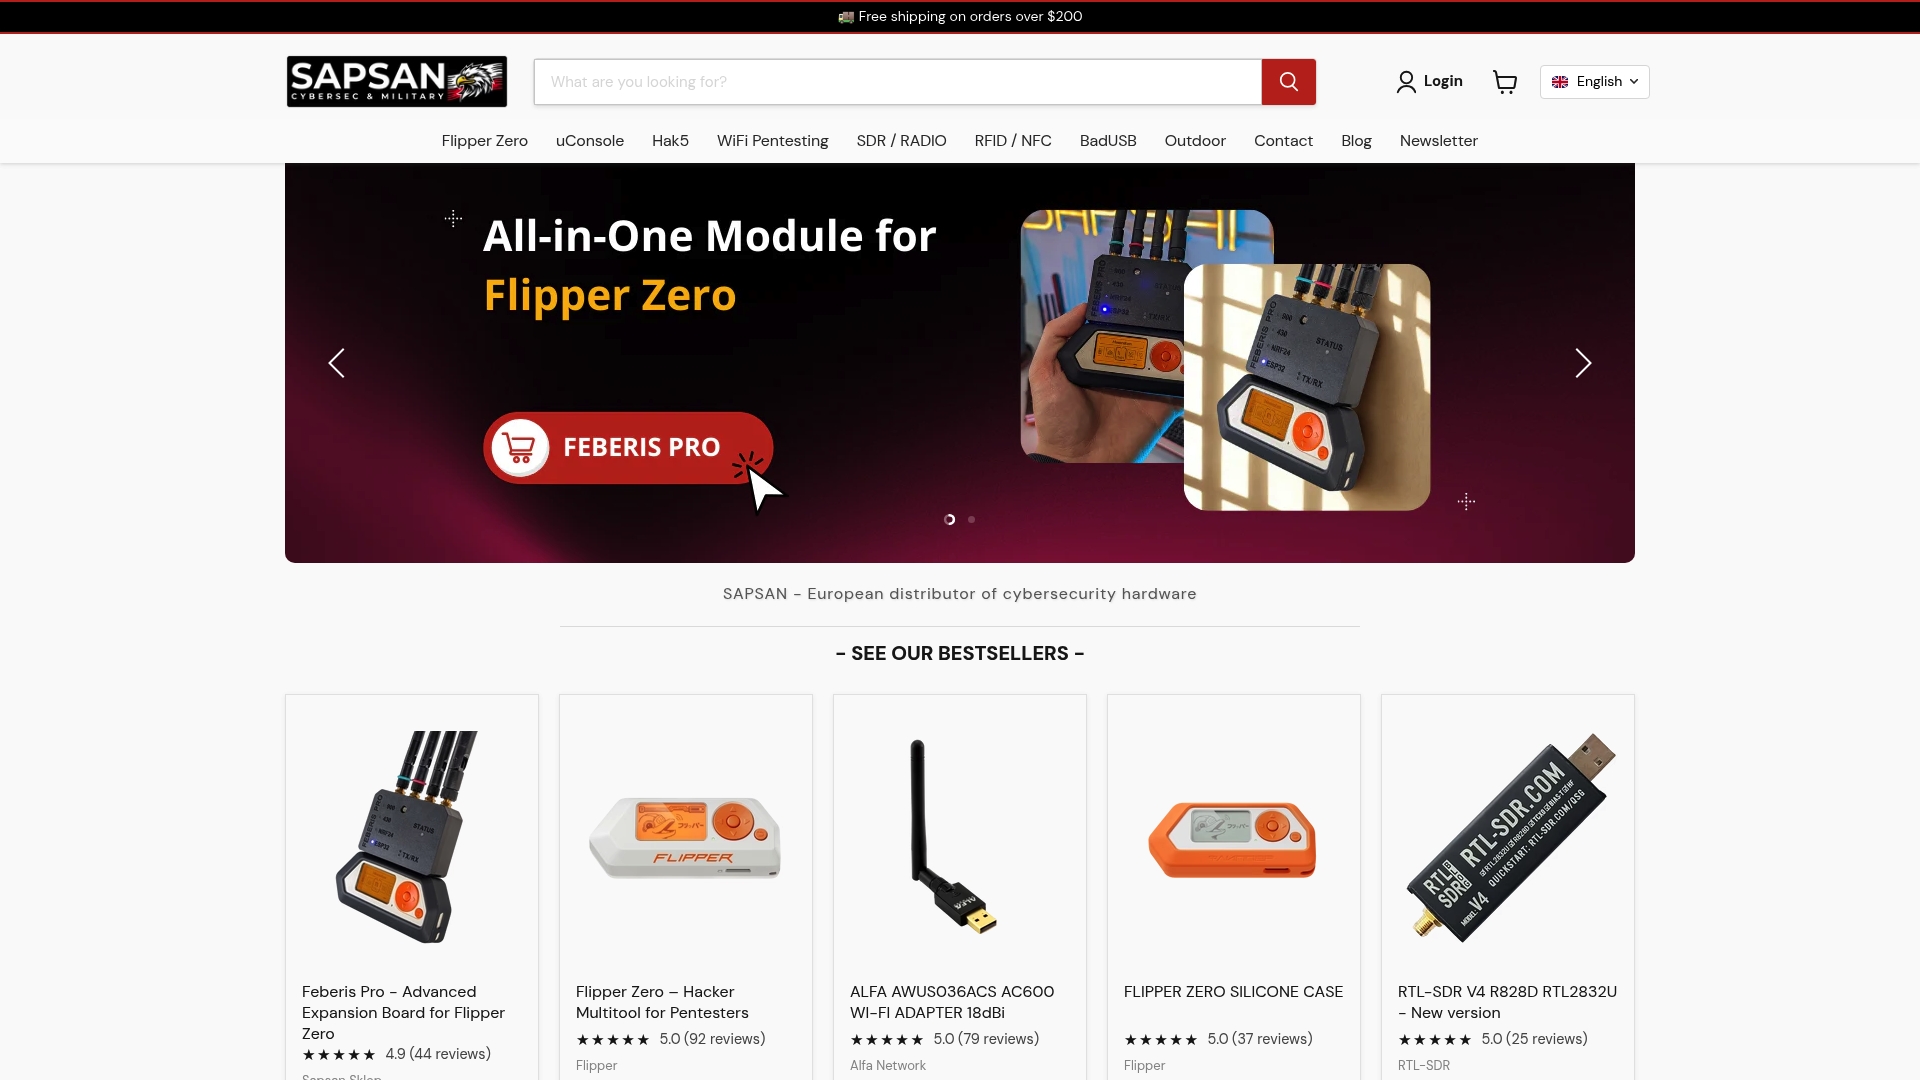
Hardware and tools for a professional ethical hacking lab in the Sapsan store
Theory without hardware is not enough. Concrete tools for every stage of lab building - from USB/HID, through Wi-Fi and RF, to portable mini-computers replacing the hosted VM setup.
USB, HID and BadUSB
For testing scenarios involving USB media and BadUSB attack automation use the Bash Bunny Mark II Hak5 - a versatile offensive tool with HID, mass storage and serial modes. The classic pendrive injector is the USB Rubber Ducky V2, on which you learn to write DuckyScript payloads. For cable-level testing - the O.MG Adapter Elite Hak5.
Wi-Fi and network layer
For lab Wi-Fi testing you need a card with monitor mode and packet injection support. In the offer you will find the full Alfa Network adapter series, compatible with Aircrack-ng. For rogue AP scenarios and attacks on Wi-Fi clients - the WiFi Pineapple Mark VII. For passive sniffing of Ethernet traffic at the physical layer - the Throwing Star LAN Tap Pro.
RF, SDR and RFID
For learning radio attacks, RFID/SubGHz and wireless protocol analysis - the Flipper Zero combined with our own expansion board Feberis Pro, which adds SubGHz, NRF24 and WiFi in a single compact module. For full-blown Software Defined Radio work - the HackRF Pro and cheaper RTL-SDR v3/v4 as an entry point into SDR.
Portable lab - an alternative to virtualization
If instead of a hosted VM setup you prefer a dedicated physical mini-computer with native Kali Linux ARM or Parrot OS, check the uConsole Kit RPI-CM4 Lite. It is a standalone device with a screen, keyboard and Wi-Fi/LTE support, on which you run pentest tools without a virtualization layer - useful for red teaming in the field, on-site audits and as a second, isolated host alongside the main lab. For people who do not want to invest in a full workstation with 32+ GB RAM, uConsole is a realistic start in mobile pentesting.
Sapsan ships across the entire European Union and the United States, which removes the problem of niche hardware availability.
Frequently asked questions
What are the minimum hardware requirements for an effective ethical hacking lab?
The minimum requirements are 16 GB RAM, a quad-core CPU with hardware virtualization support and an SSD. For smooth work with several machines simultaneously 32 GB RAM and a 500 GB SSD are recommended.
Why is using a Host-Only network important in an ethical hacking lab?
Host-Only isolates VMs from the internet, which prevents leaks of test data and protects the local network from exploitation of vulnerable machines running in the lab.
Which tools and operating systems are recommended for starting to build an ethical hacking lab?
The recommended starter set is Kali Linux as the offensive system, plus the Metasploitable 2 and OWASP Juice Shop vulnerable machines for practicing exploitation techniques and web application testing.
Is it worth investing in physical hardware for a lab, or are virtual machines enough?
A hybrid model combining physical devices with virtualization gives the best results. Physical hardware teaches debugging of network topology problems that a purely virtual environment does not reproduce. For mobile red teaming consider a dedicated mini-computer like uConsole with native Kali Linux instead of a full host workstation.